Constructing your own fence is something you might not be thinking of doing. You might be a bit too busy to do it yourself. Still, it would be worth knowing the steps involved in the process. The process itself is straightforward, but knowing the exact steps is crucial in ensuring it’s done right. So, what are the key steps involved in fence construction? Please read on to find out:
Planning and Design
Before any physical construction begins, the first and perhaps most crucial step is planning and designing the fence. Start by asking yourself why you’re installing the fence—whether it’s for privacy, security, or decorative purposes. This will influence the type of materials, height, and design you choose.
Next, assess your property. Identify the location of your property lines to avoid disputes with neighbors or violating local codes. Some areas have regulations concerning fence height and style, especially if you’re living in a subdivision or a historic district. Check with your local authorities or homeowner’s association for any restrictions or permits required.
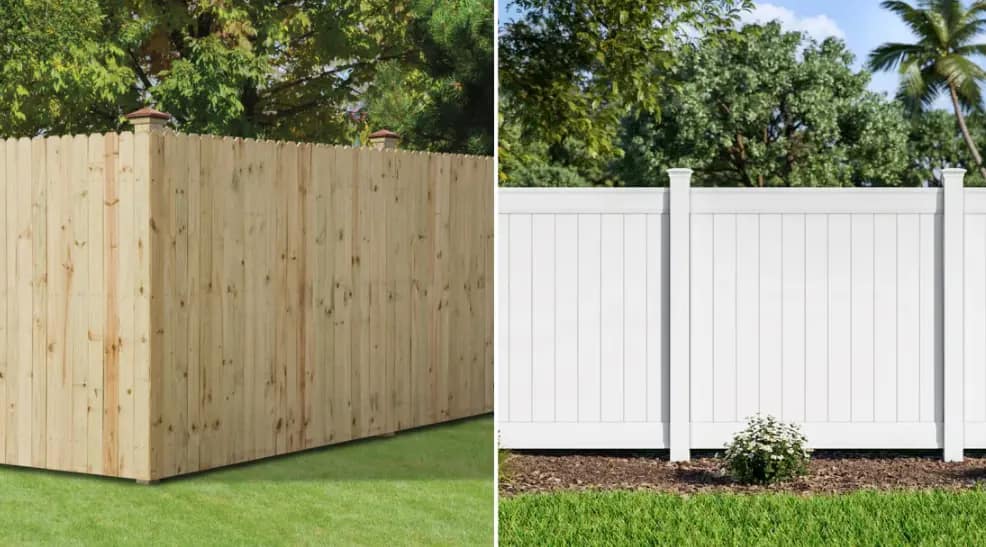
During the design phase, decide on the materials to use based on your budget and desired aesthetics. Common materials include wood, vinyl, metal (such as aluminum or wrought iron), and chain link. Each material has its own pros and cons, with wood being more customizable but requiring maintenance, and metal or vinyl being durable but more expensive.
Measuring and Marking the Area
Once the planning and design are complete, the next step is to measure and mark the area where the fence will be installed. Use a tape measure to determine the total length of the fence and divide that by the size of each panel to figure out how many posts you will need.
Mark the spots where each post will go with spray paint or stakes. Ensure that the distance between each post is consistent and that the fence line is straight. This will save time later and prevent unnecessary mistakes. Also, make sure to mark the locations for gates if the fence will include any.
Post Installation
Installing the fence posts is one of the most critical parts of fence construction. The strength and durability of the fence depend largely on the proper placement of the posts. Here are the key steps involved in this process:
Digging the Holes: Using either a post hole digger or an auger, dig holes for the fence posts. The holes should generally be one-third the height of the fence. For example, if your fence is six feet tall, your holes should be around two feet deep. If you’re in an area with harsh weather, like heavy winds, deeper holes are recommended for added stability.
Setting the Posts: Place the posts in the holes, ensuring they are level. Use a level tool to check that each post is perfectly vertical. You may need to use concrete to secure the posts in place, especially for heavier fences. Pour the concrete around the base of each post and allow it to set for at least 24 hours before proceeding with the rest of the construction.
Attaching the Fence Panels or Rails
Once the posts are firmly set, the next step is to attach the fence panels or rails. This varies depending on the type of fence you’re constructing:
Wooden Fences: Attach horizontal rails between the posts, then nail or screw the vertical boards or pickets to the rails.
Vinyl or Metal Fences: These often come in pre-fabricated panels that can be easily attached to the posts using brackets or screws.
Chain-Link Fences: Unroll the chain-link mesh and attach it to the posts with tension bars and wire ties.
Ensure that each panel is level as you attach it. Work your way around the fence line, attaching one panel at a time, and checking that everything is aligned properly.
Installing the Gates
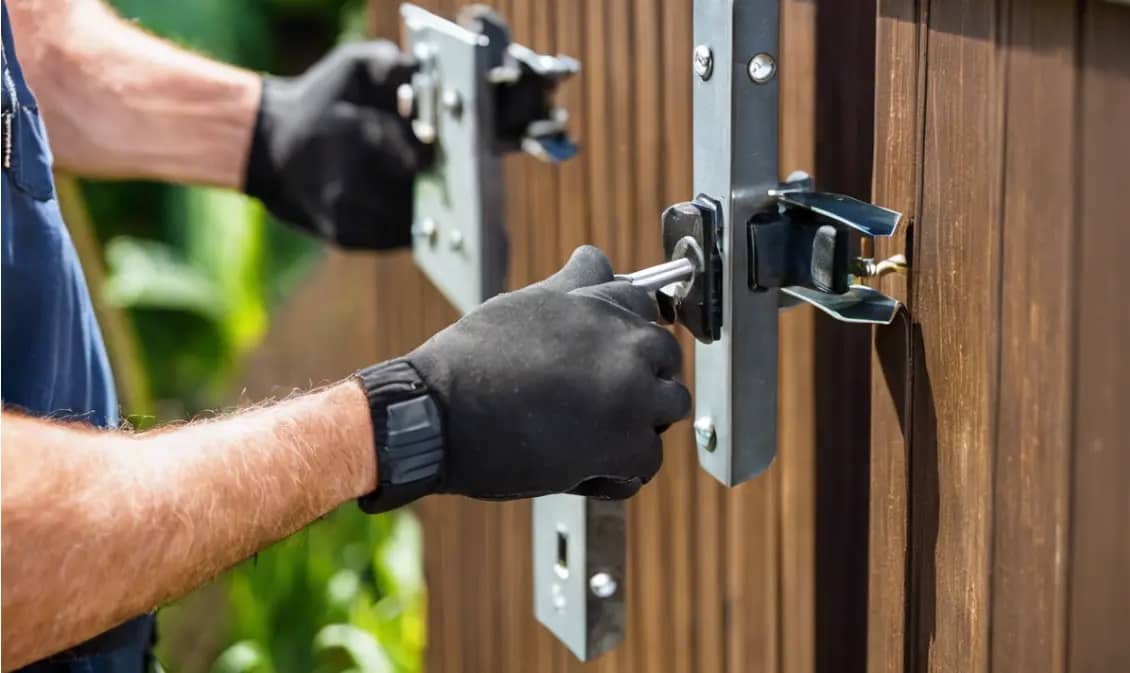
Most fences will have at least one gate for access. The gate should be installed after the fence panels are in place. Make sure the gate is functional and secure by using the appropriate hardware, such as hinges, latches, and locking mechanisms. Pay attention to the clearance between the bottom of the gate and the ground to prevent dragging or difficulty in opening and closing.
Finishing Touches
Once all panels and gates are installed, inspect the entire fence for any defects or loose parts. For wooden fences, this is the stage where you would sand, stain, or paint the wood to protect it from the elements. Vinyl and metal fences may only need a quick cleaning to remove debris.
If you used concrete to set the posts, make sure it has fully cured before using the fence. You may also want to add landscaping or decorative elements around the base of the fence for added visual appeal.
Fence construction involves careful planning, measuring, and execution to ensure a durable and attractive final product. By asking what are the key steps involved in fence construction – you can create a fence that serves its intended purpose and enhances the overall look of your property. Whether you choose to DIY or hire professionals, understanding the basics of fence construction will help you achieve the best results. To ensure outstanding results, please contact us at Faster Fences, America’s trusted fence company, right away.
